A Small Golden Speaker
After building my big speaker I still had a sheet of plywood left. The obvious solution was to build a smaller speaker. I already had an overload of speakers, so I decided to build one for my girlfriend Anna.
Concept
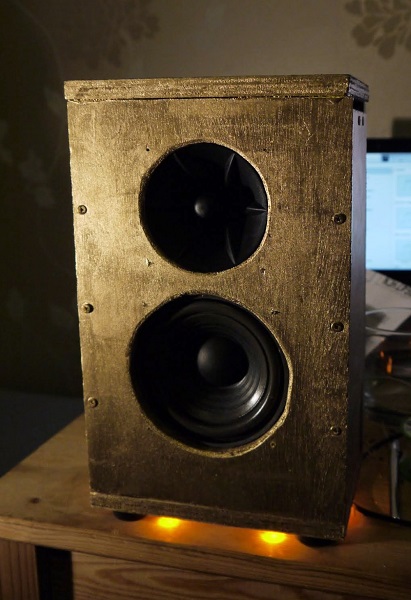
My concept was a mono speaker built as a small vertical cabinet. I liked the idea of building a ported (bass reflex) design using a port constructed as part of the cabinet. The speaker needed to be interesting to look at and as easy to use as a commercial design.
Drivers
I selected a 4" Monacor driver and a piezo tweeter (not known for their sound quality, but they’re dirt cheap and I thought it would be interesting to play with one).
Cabinet
I modelled the cabinet and driver in WinISD, playing with port sizes and the cabinet dimensions. This is a very iterative process, taking into account:
- Frequency response
- Plywood available
- Final dimensions
- Amplifier board dimensions
- Speaker driver dimensions
- Cabinet height/width/depth ratio (to try and avoid standing waves)
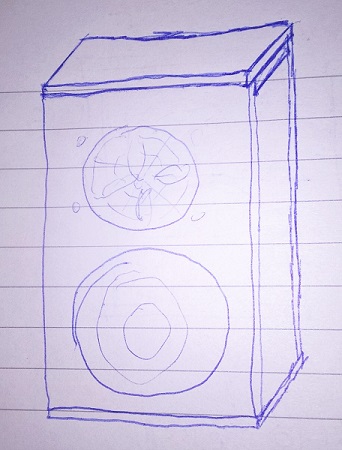
My initial design concept had the port on the front, but I quickly realised to keep it as square as possible it needed to be on the side.
After lots of sketching and spreadsheeting, I had a design. I put it together in Solidworks to help visualise it and check the spacing of the components.
I cut the speaker out of my remaining plywood with a jigsaw. Unfortunately because I didn’t have a good way of making very straight cuts, this made many of my cuts a little wonky. This probably made the box a bit leaky. Fortunately because the design is ported this isn’t so important.

The box was built using wood glue and screws. I left the back un-glued, instead sealing it with some foam tape. This means if anything goes wrong in the future I can get in.
Electronics
The amplifier is a low cost 12V 15W TDA7297 from eBay. It came with a nice gold volume knob. This is considerably underpowered (the driver is capable of delivering 60W) and a good candidate for replacement in the future.
To attenuate the harsh piezo tweeter and match the frequency response of the driver I designed a passive RC filter. The driver’s frequency response rolls off around 5kHz, with a sensitivity of 90dB/W. As the tweeter has a higher sensitivity of 94dB/W, the filter needed to attenuate in band by 4dB and pass frequencies in the range of 5kHz to 18 kHz. This wasn’t a true crossover as I didn’t filter the signal to the main driver. It’s designed as a full-range driver and so can handle higher frequencies without damage.
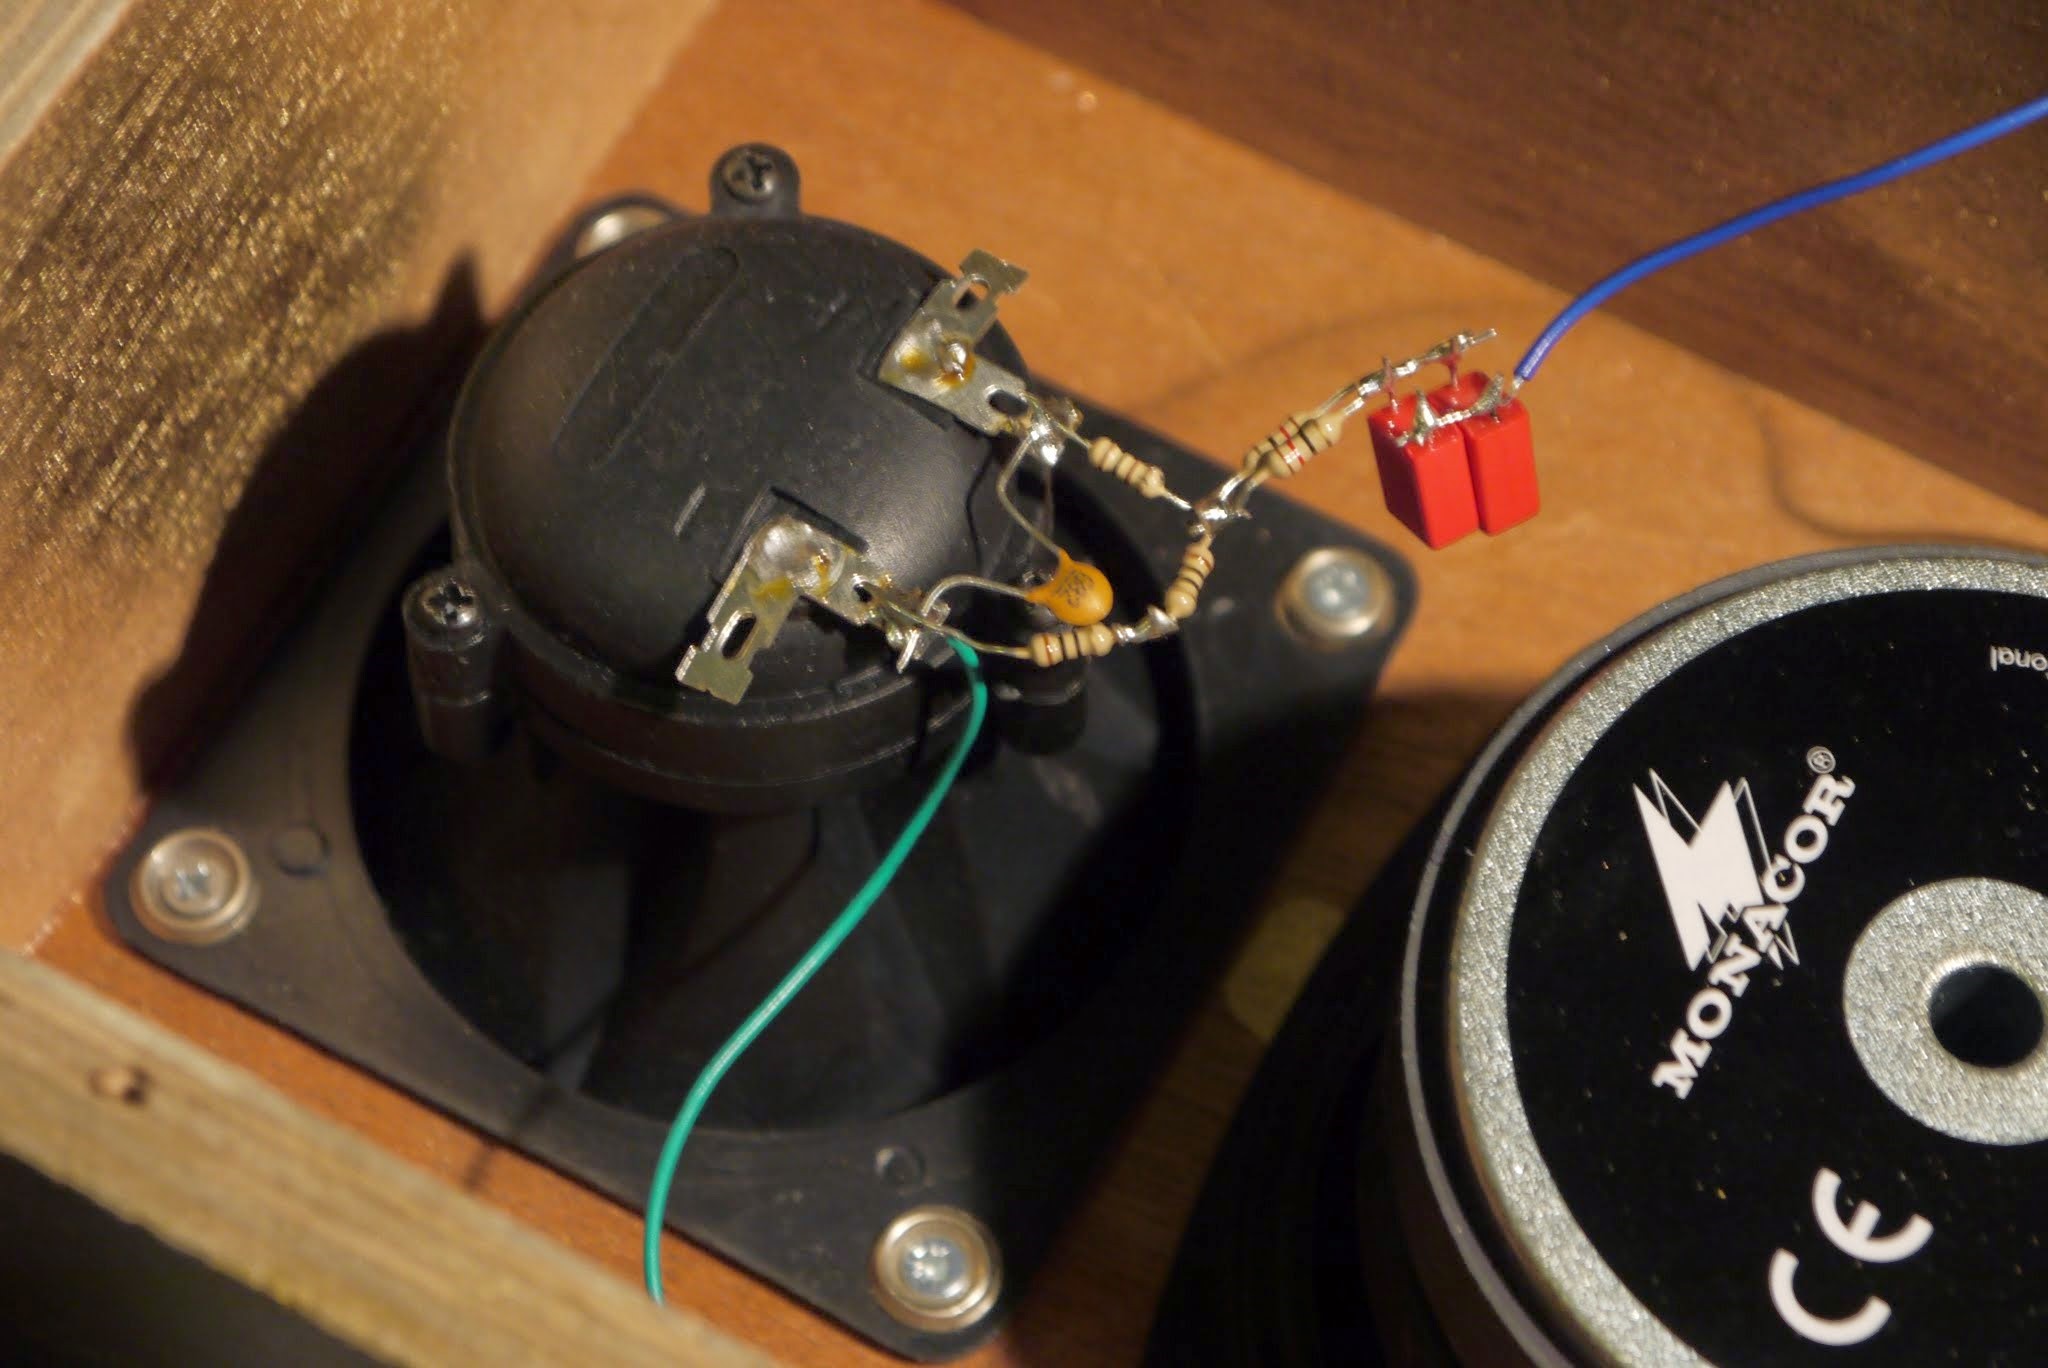
I made it using parts I had lying around, and the filter was soldered in place directly below the tweeter.
I used a USB powered Bluetooth audio receiver, mounted internally. I powered it using a simple 7805 linear voltage regulator stepping down the 12V system supply which I built onto a small piece of stripboard and covered liberally in kapton tape.
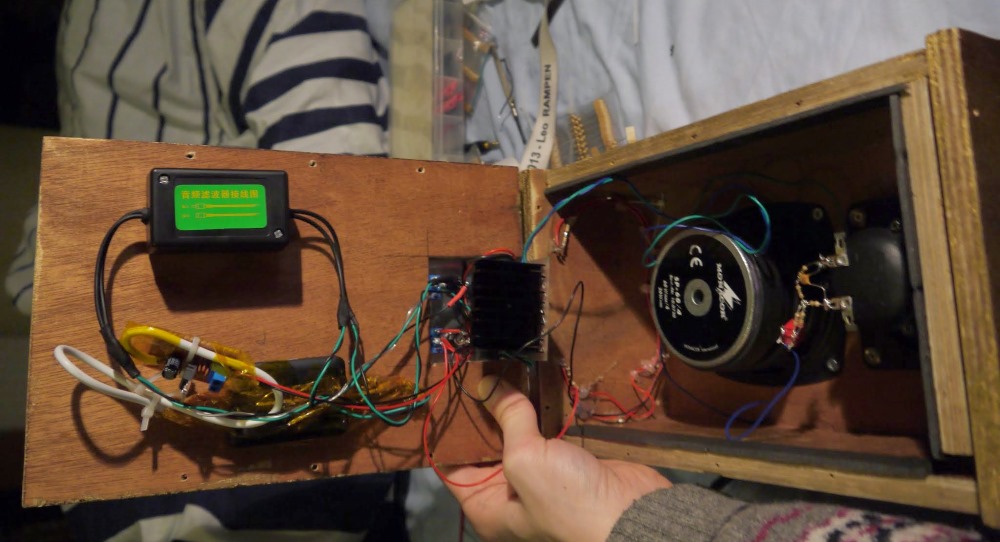
I mounted the Bluetooth receiver and its power supply to the back board of the cabinet. In testing, I found some issues with noise, possibly due to a ground loop. I placed a ground loop isolating transformer in the cabinet, also mounted on the back board, which fixed the issue.
I decided to build a rear control panel out of aluminium, holding the volume knob, audio input, power input, input select switch and power switches. I played with a lot of layouts, but ultimately it was decided mostly by the location of the amplifier volume knob. This was screwed onto the speaker from the outside, meaning it can easily be removed to access the amplifier and switches.
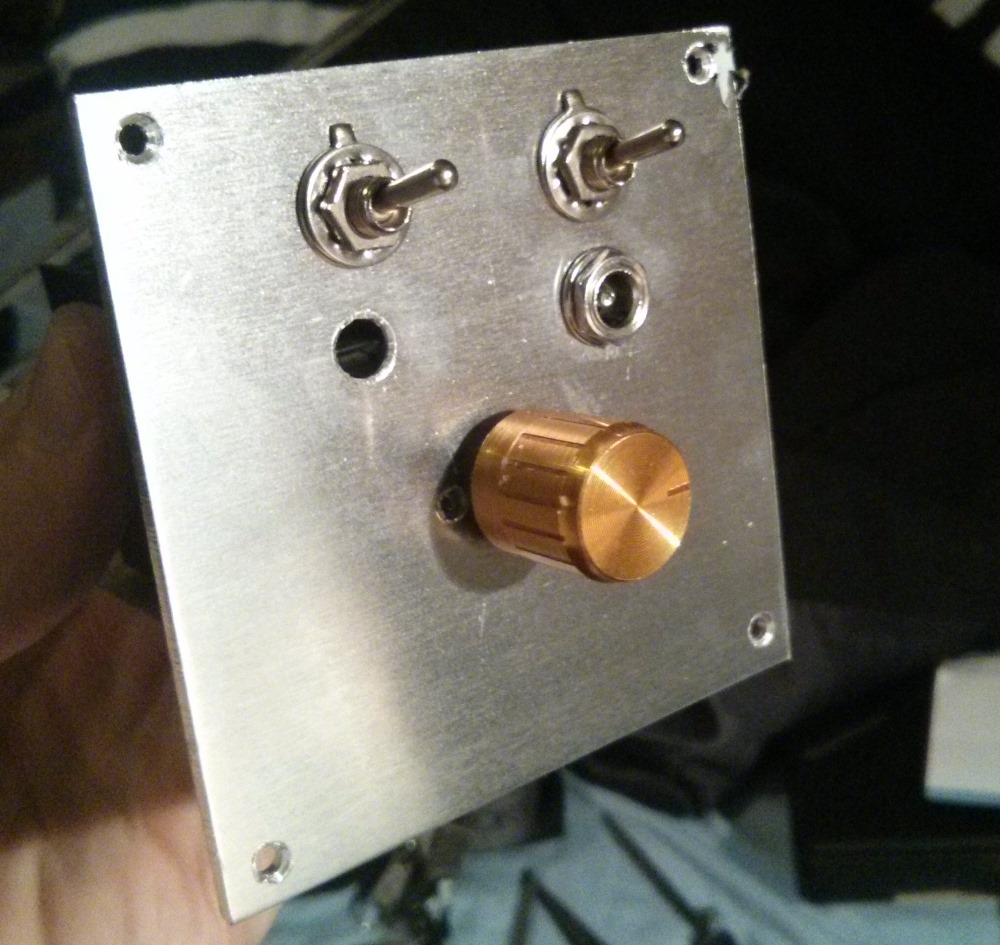
The switches were low cost toggle switches from eBay. This proved to be a mistake - the power switch started failing almost immediately. The audio input and power sockets were similar low cost eBay purchases.
For the glowing underside LEDs I drilled holes and poked 6 3mm yellow LEDs through the bottom. I wired these in place 2 strings of 3 with a series resistor, and then hot glued everything. The feet were screw on rubber feet from eBay.
And it was finished!