Plywood Desk
I needed a desk, so I built one out of birch plywood.
After I moved house, the IKEA pine table I’ve been using as a desk for the past 3 years was returned to its natural home as the purveyor of food. I was in need of a desk!
At first I thought I’d buy one. Unfortunately I couldn’t find anything that quite met my requirements. I was looking for something without chipboard and with built in storage (and cable management!)
I quite liked the IKEA Lisabo (too shallow, too light), ARKELSTORP (too big) and Made.com’s Edelweiss (too expensive).
Rather than pay £115+ for desk I kind of liked, or £400+ for a nice one, I decided to make one. I settled on a midcentury design, inspired by a recent visit to the Eames retrospective at the Barbican along with various images I found on Pinterest.
Legs
I went with hairpin legs from Wicked Hairpins. Mine cost £60 for 4 delivered. I opted for a clear powder coat. They’re slightly cheaper without coating, but as uncoated steel rusts readily I would have had to paint them myself (not easy in a top floor flat).
Top
This was trickier. At first I thought maybe I could find a nice slab of wood. It turns out that costs almost as much as one of the desks linked above. I guess there’s a reason all IKEAs furniture is chipboard and cardboard! I’ve seen a lot of people online buying a solid oak kitchen worktop (the IKEA HAMMARP is popular) and giving it some legs. I was put off this idea because of the cost, the difficulty in cutting the worktop in my flat, and my desire for something with storage.
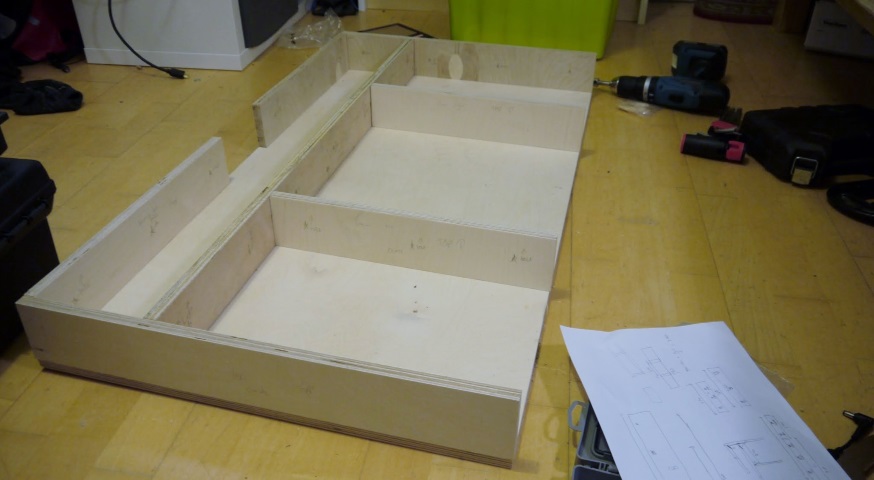
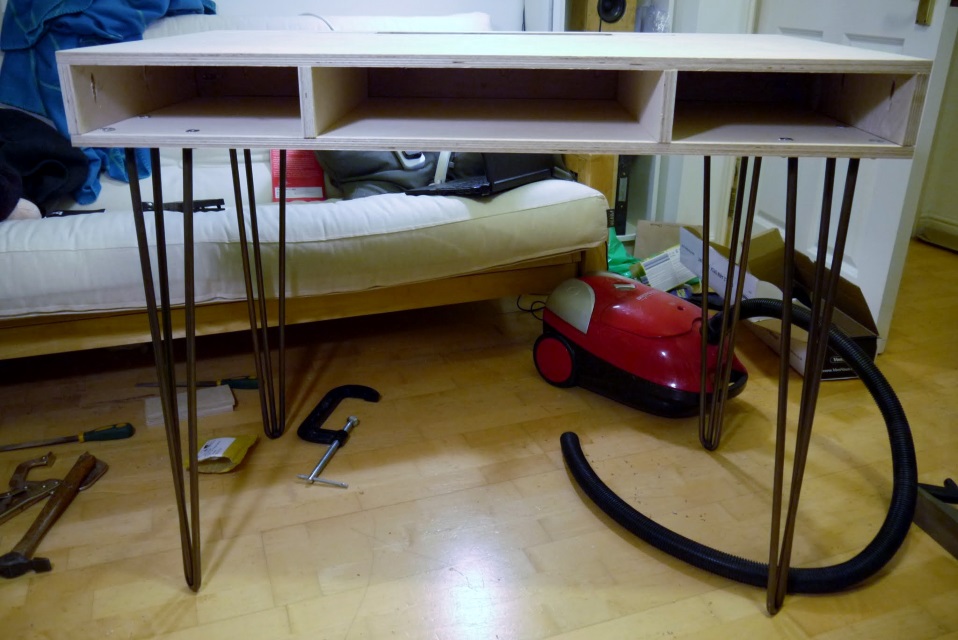
Instead, I decided to build the desk top as a box. This makes it very stiff and has the added bonus of creating space for a drawer, shelves and cable routing.
The whole top is cut from a single piece (1220mm x 1220mm) of 15mm Baltic birch plywood. I splurged a bit on this by choosing high quality wood - including the cost of cutting it down into 10 pieces it came to £65.
I sketched it first, then drew up plans in 3D CAD. I left space in the front section for a drawer, although for now it’ll just be shelving. I created a space at the back (accessed through a long wide slot) for cables, chargers and power bricks.
Building
I ordered the wood from an eBay seller as my local wood merchant would only sell me a full (1220x2440) sheet. I sent them a drawing of the pieces I needed and, after some delays in cutting and shipping, the wood turned up about 10 days later.
Disaster! I forgot to put 2 pieces on the drawing. I went back to the drawing board and came up with a design that used my purchased wood on the exterior. I sourced a lower quality piece for the interior from my local wood merchant’s offcuts.
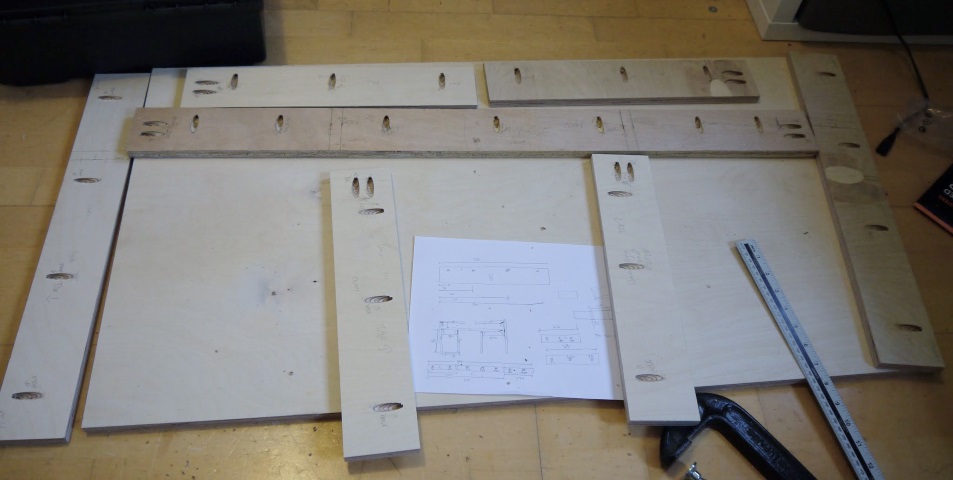
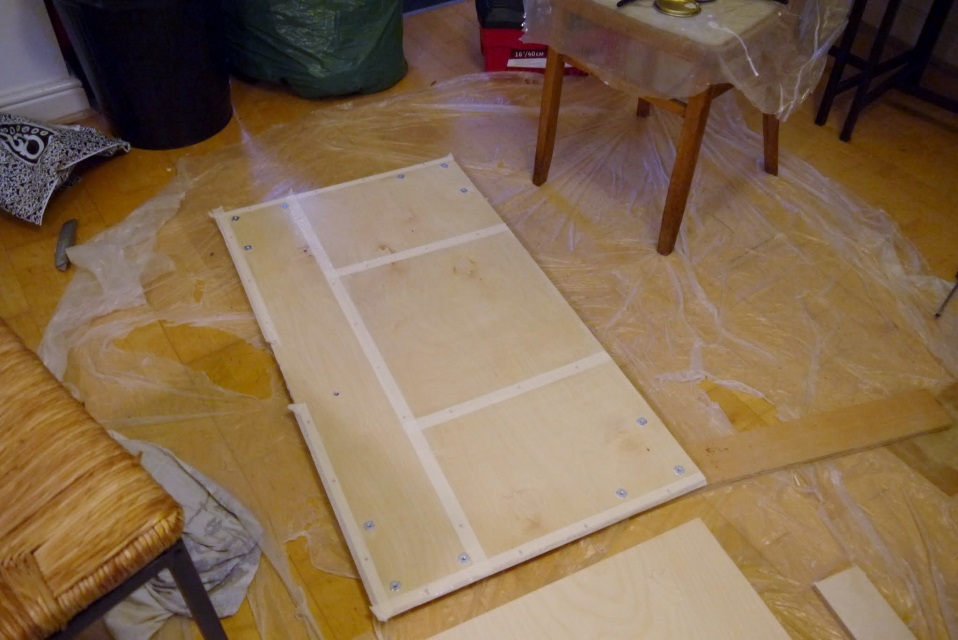
Finally I had the wood I needed. I checked it all fitted before I started drilling any holes.
I wanted to join the walls of the box to the top without leaving unsightly screw heads everywhere. This seemed like a good excuse to buy a Kregg Pocket Hole Jig.
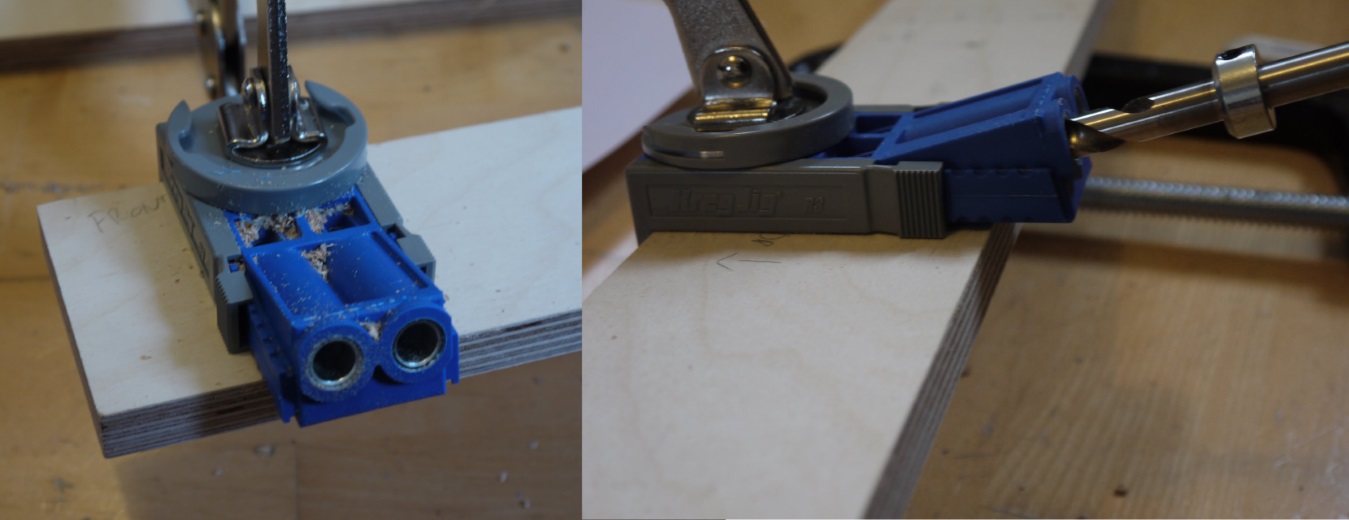
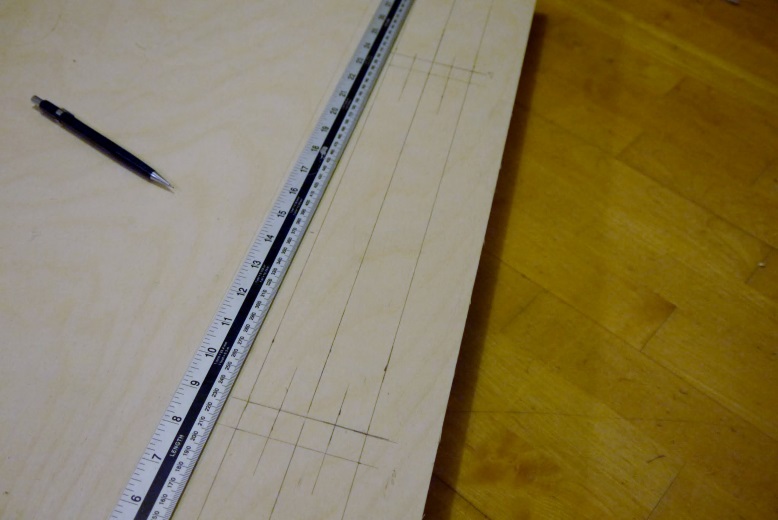
After marking out all the holes, I drilled them all.
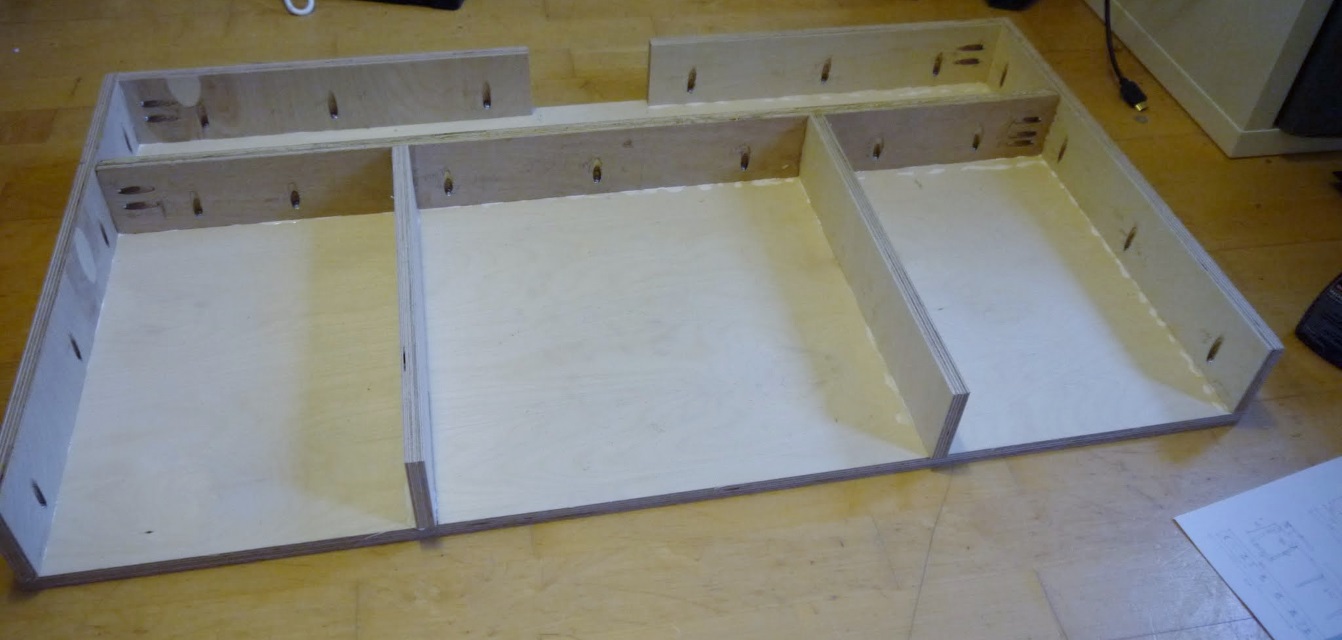
Then I built the walls, using wood glue on each joint. Once I’d got the hang of pocket hole screws (basically learning how much to compensate for them pulling the piece being joined back slightly while drilling) they were super easy to use. Almost all my joins were really accurate.
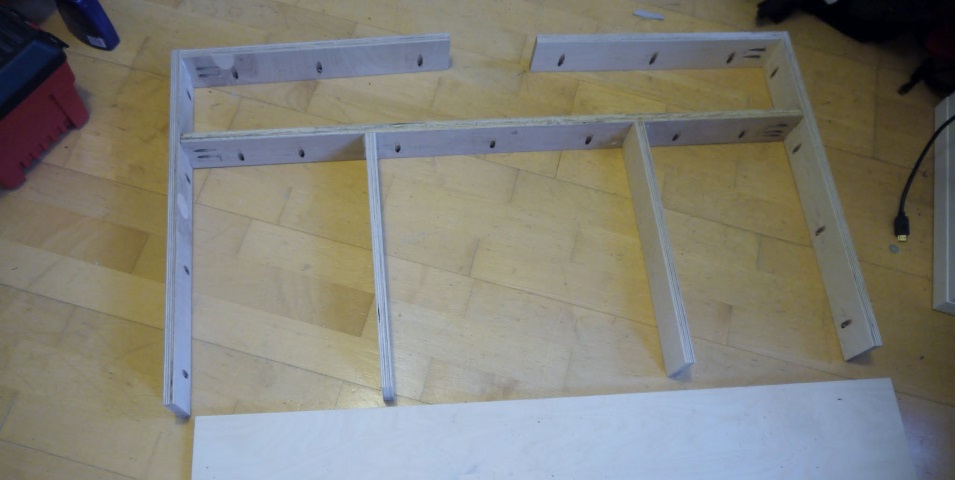
And then finally I joined the walls to the table top.
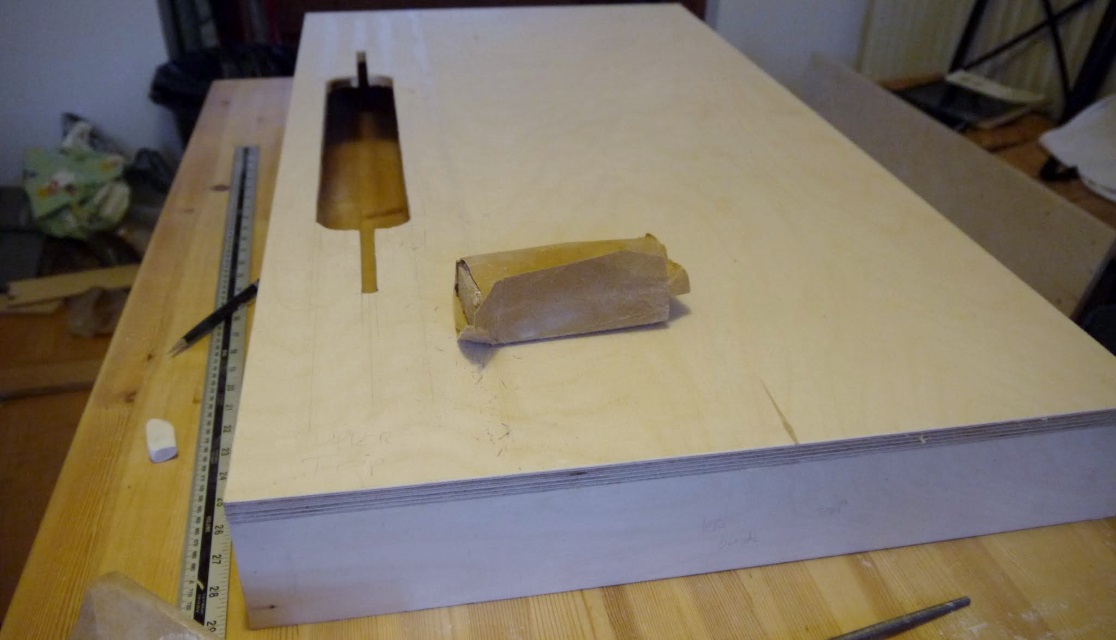
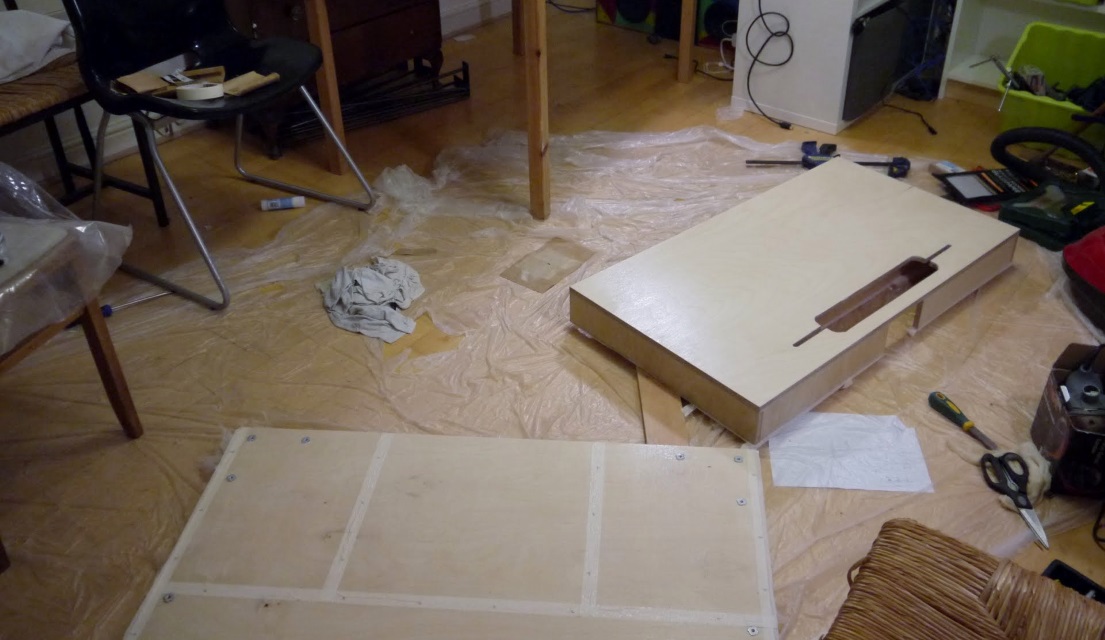
I marked out the hole for my cable tidy tray.
Made the ends using a hole saw.
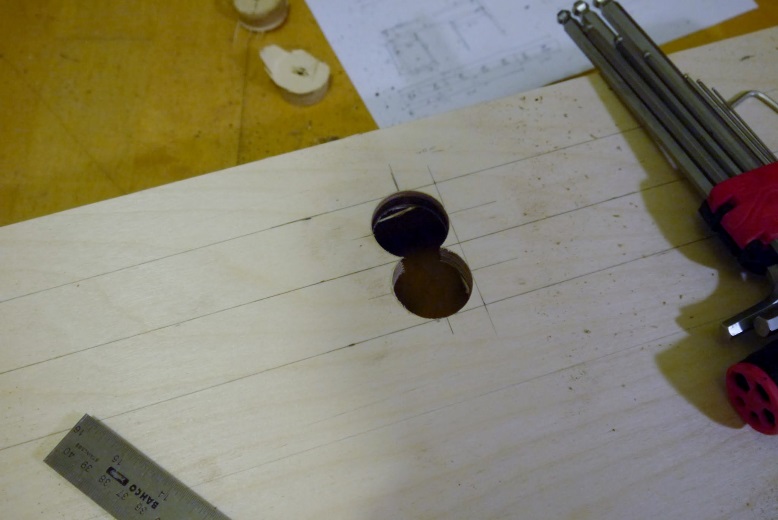
And cut out the rest with a jigsaw.
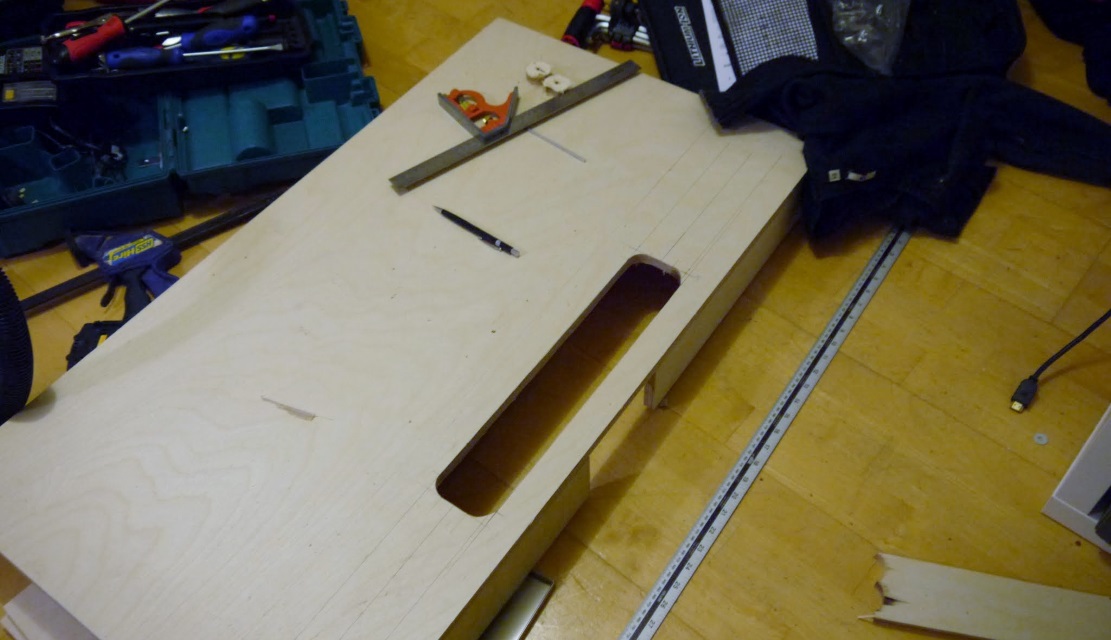
I later cut a slot in each end for cables, inspired by this image.
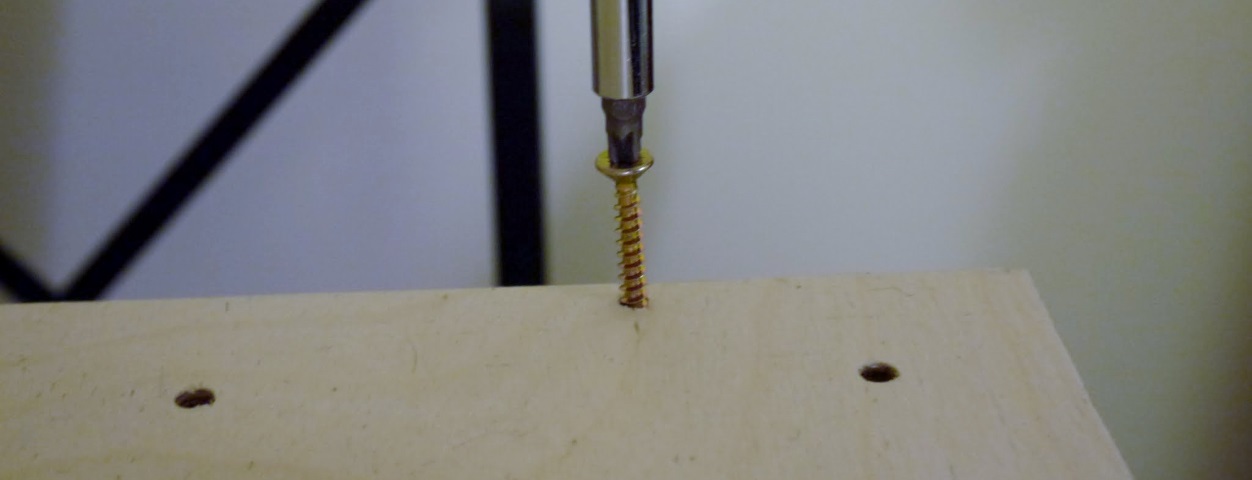
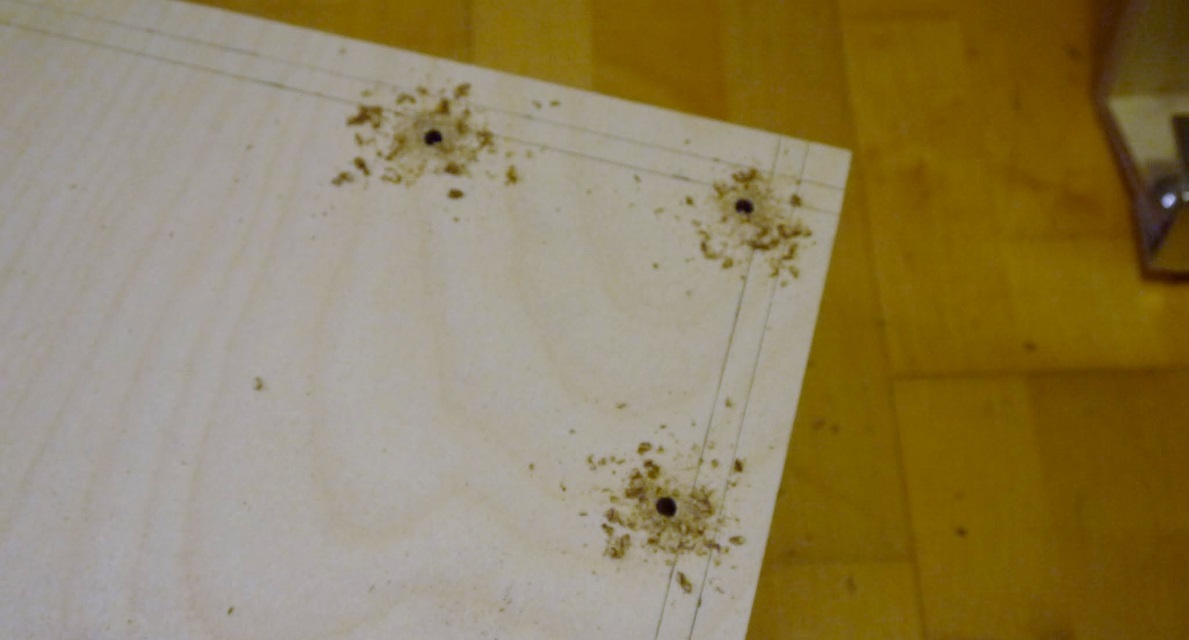
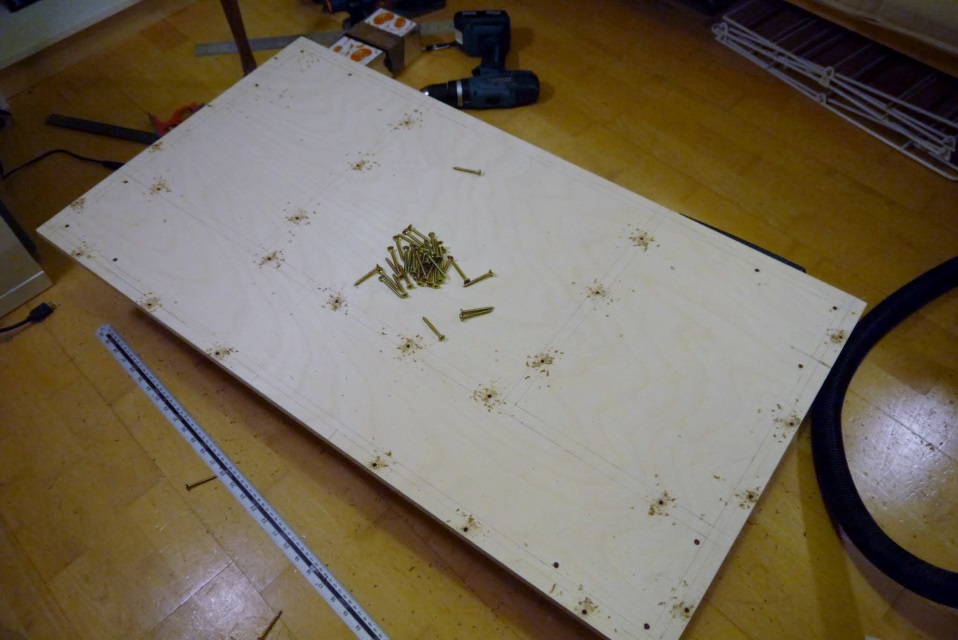
The bottom piece required 3 holes for each leg. I marked them out.
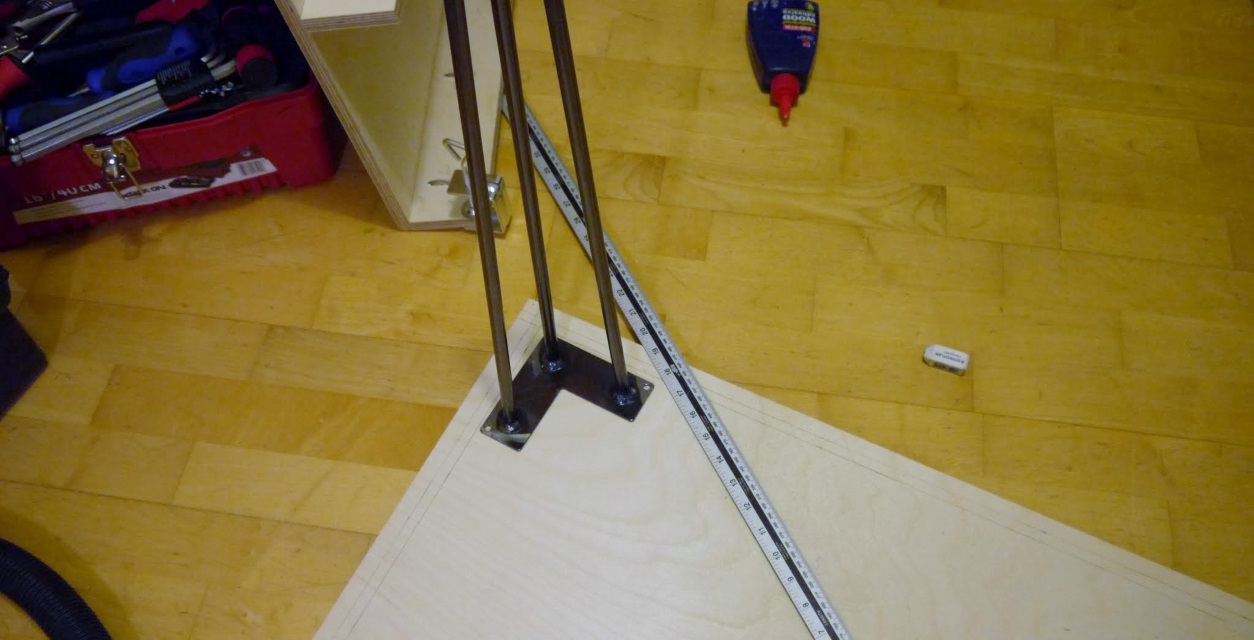
Drilled them
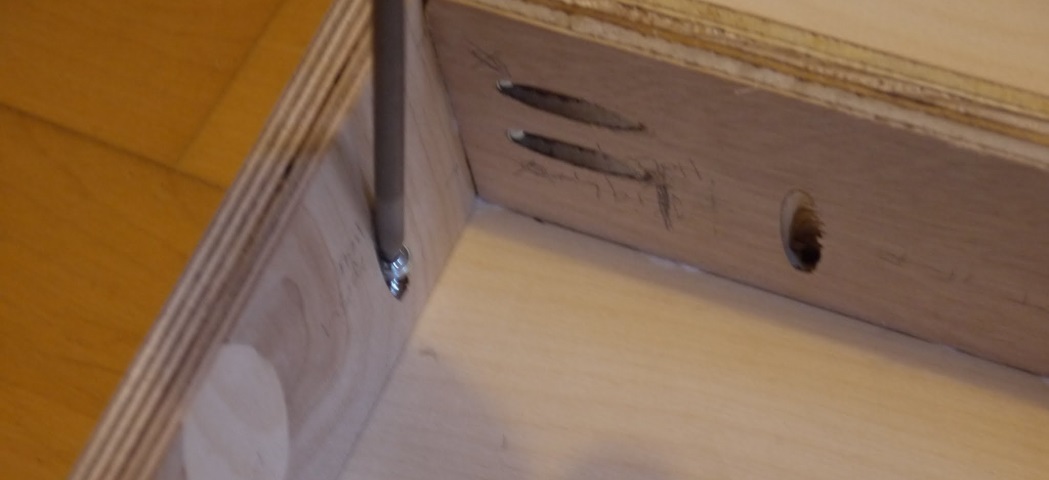
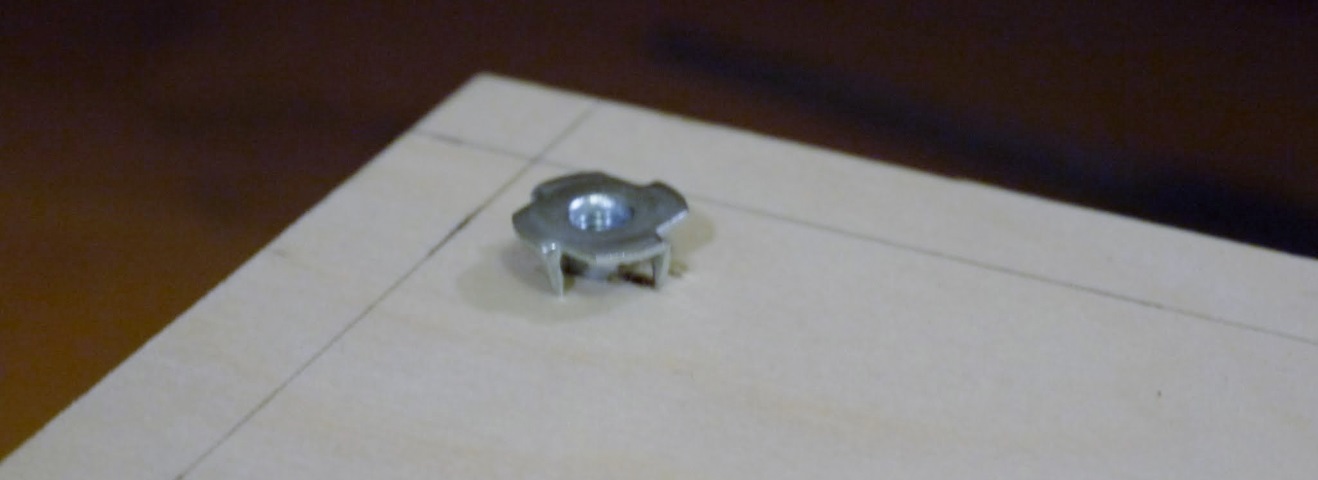
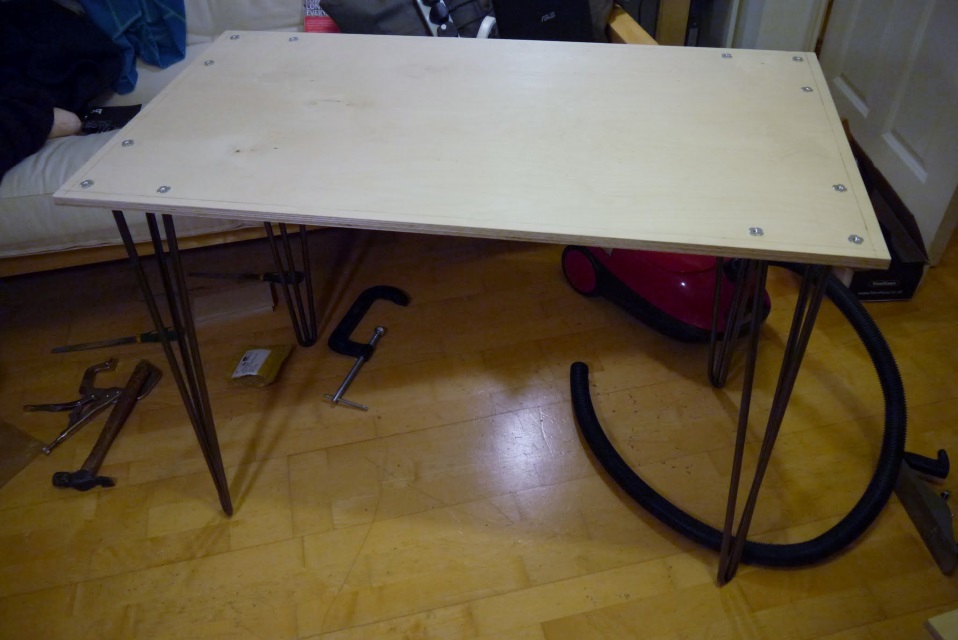
The legs are bolted on using M5 bolts going into captive T nuts. These pull into the wood as you tighten it, locking into place.
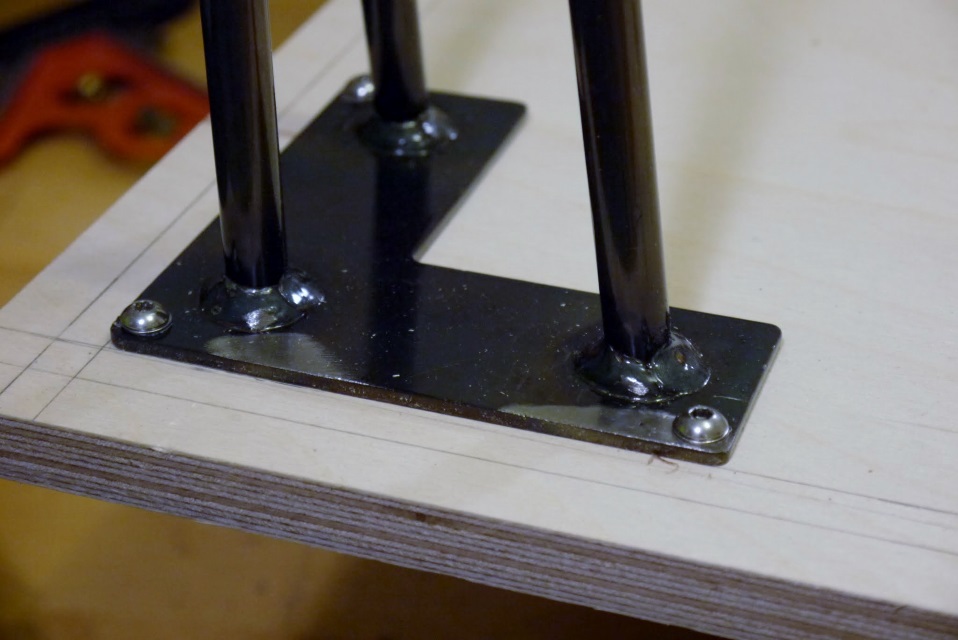
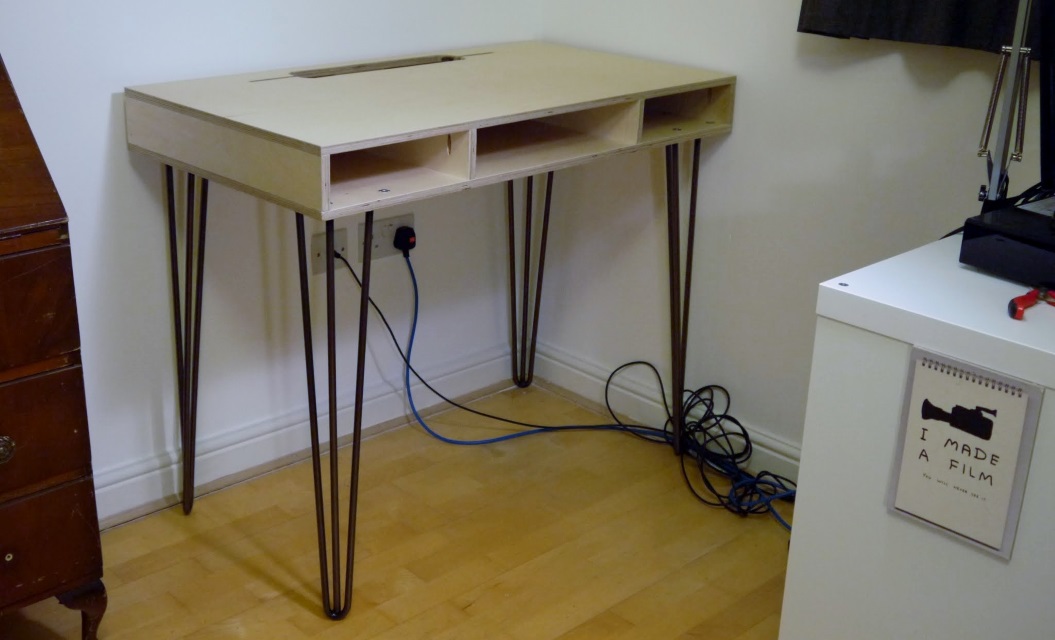
And I had a table!
As I want to install drawers at some point in the future, I decided not to glue the bottom to the top. Instead, I just screwed it in from the underside. This isn’t the strongest method of joining wood, but it should be fine for this use.
I removed the bottom and drilled lots of holes. Each location had to be planned so it wouldn’t hit a pocket screw.
And the desk build was complete! Sort of. I still had to treat it with something.
Treating
I decided to use a wax finish. These are apparently easier to repair than varnishes. I did both the desk and my dining room table at the same time (originally oiled pine, looking rather stained after 5 years of use).
I separated the two desk pieces and removed the legs. I sanded all the surfaces (removing my pencil markings proved surprisingly difficult. Next time I’ll use a softer lead).
I put masking tape down where the top and the bottom join so I don’t have to sand it if I decide to glue it later.
The wax coating I used needs 3 coats.
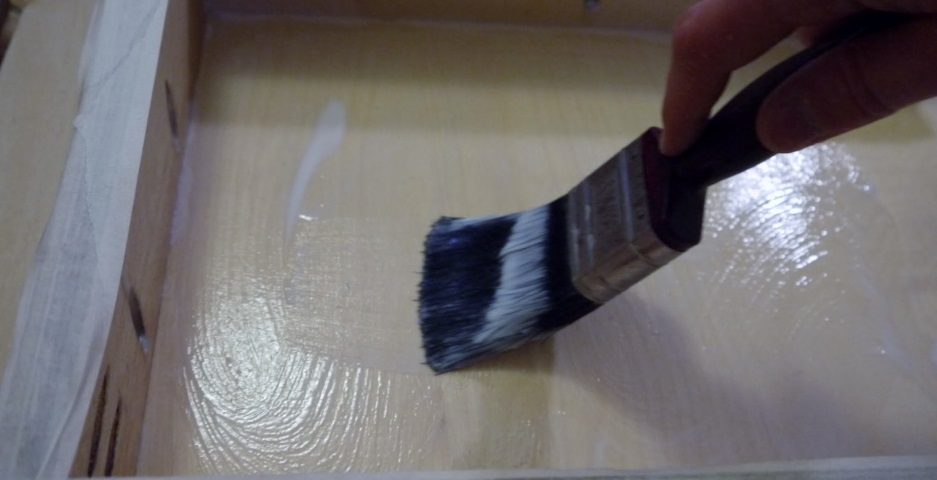
After each coat it needed an hour to dry before the next. It was a messy process (fortunately my girlfriend was away for the weekend).
It turned out that by the time I’d finished coating the table, top and bottom of the desk I was ready to start again on the table. It took all day.
Unfortunately I couldn’t do both sides of the bottom piece without putting the wet face on the floor, so I had another 3 hour wait after finishing everything else.
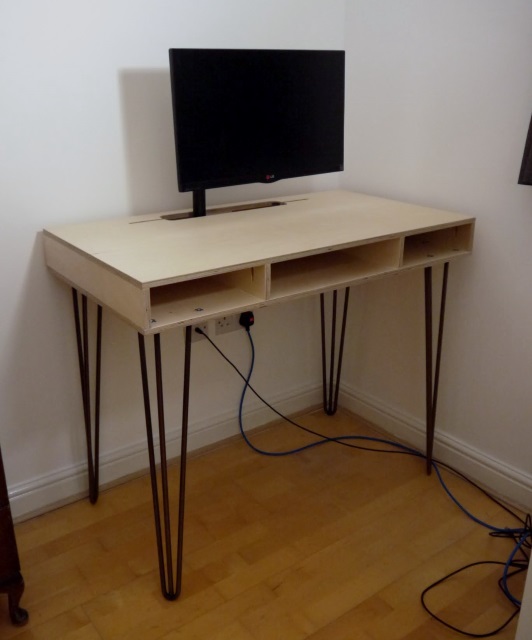
Finally it was done! I joined the top to the bottom and screwed on the legs.